How to set up your wireless printer in 3 easy steps
There are many benefits to having a wireless printer. A clutter-free office space; print from anywhere; shared between multiple users; and ease of use, are just some worth mentioning.

Is a wireless printer really easier to use?
Did you feel yourself doubt the bit about ease of use? It’s not surprising. Many people feel intimidated when they hear words like “wireless” and “connect”. The reality is that it's extremely easy, and we've put together 3 steps to guide you through the process.
The initial setup does require your full attention but once it’s done, you can print at will, from another building if you want to, provided you’re within reach of your shared network.
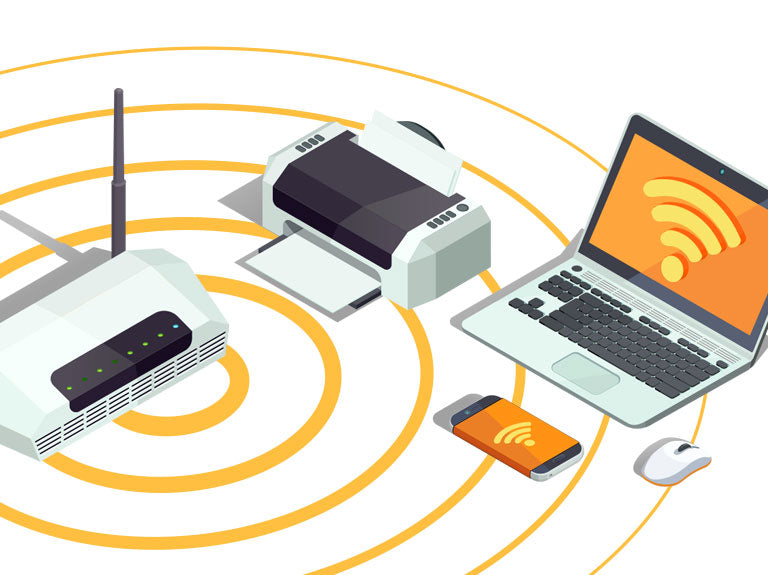
What you will need to connect to your wireless printer:
- An established and configured network connection via a wireless router.
-
You will also need the wireless network name (also called SSID) and password so that you can distinguish it from other nearby networks and connect to the correct one.
- A wireless printer.
Step 1: Choose a strategic position to place your wireless printer
For the purposes of installing software, your wireless printer will need to be near a computer. Once you have completed your set up, you can choose a spot that’s out of the way. Plug it into the power mains and switch it on. Make sure your printer is able to pick up a decent network signal. Metal objects and walls/doors can diminish the strength of your network signal which will make it difficult to print.
When you’re selecting your spot, also try to choose a surface that will safely catch your prints, in case you’re not standing there ready to grab them.
Step 2: Automated setup versus manual setup
Automated: Wireless printers with a colour LCD display window will provide you with a step-by-step guide on how to configure the network. The printer will detect any networks automatically. You can select the correct one (you will identify it by its network name) and select the “Connect” option. Enter the password associated with the network and you’re set to go!
Manual: Installing the software usually automatically takes care of the IP address and firewall settings. If for any reason you have to do it manually, this is how:
- Firewall: Firewalls are designed to protect our equipment from incoming threats, like malware and viruses. Sometimes, firewalls mistake printers for a threat and prevent them from accessing the PC or the WiFi network. If you battle to establish a connection between your devices, disable your firewall and see if that helps. If this fixes the issue, go into your firewall settings and select a lower security setting.
- Wireless security protocol: There are a few different protocol types. Your printer will want to know what type you are wanting to connect to. You can check this information with your network; it is most commonly WiFi but it may also be the old fashioned WEP.
Step 3: Installing your wireless printer's software
Once you have connected to the network, you can install the software on your computer. This software, or drivers, connect to the printer and deliver the relevant commands. Your printer will come with a CD which contains the drivers and an automated setup to follow. If your computer and printer are connected to the same network, your computer can automatically source the software needed to operate your printer from the internet.
Troubleshooting and wireless printer challenges
If you are having trouble, always check your network first. IT professionals agree that the majority of the time, the challenges arise as a result of the network and not the printer. Make sure your printer has a strong network signal and that your network is available and online.
If your new printer is running like a dream, source high quality and affordable (yes, you can have both) inks to prolong its life and improve your print quality. You can purchase ink and toner at The Inky Shop's webshop, or find a store near you.